|
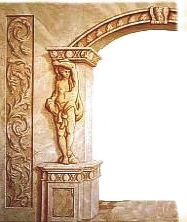
Figure
4
This
section of the original
painting was
the
starting point for
a
new computer-
designed
mural.
|
|
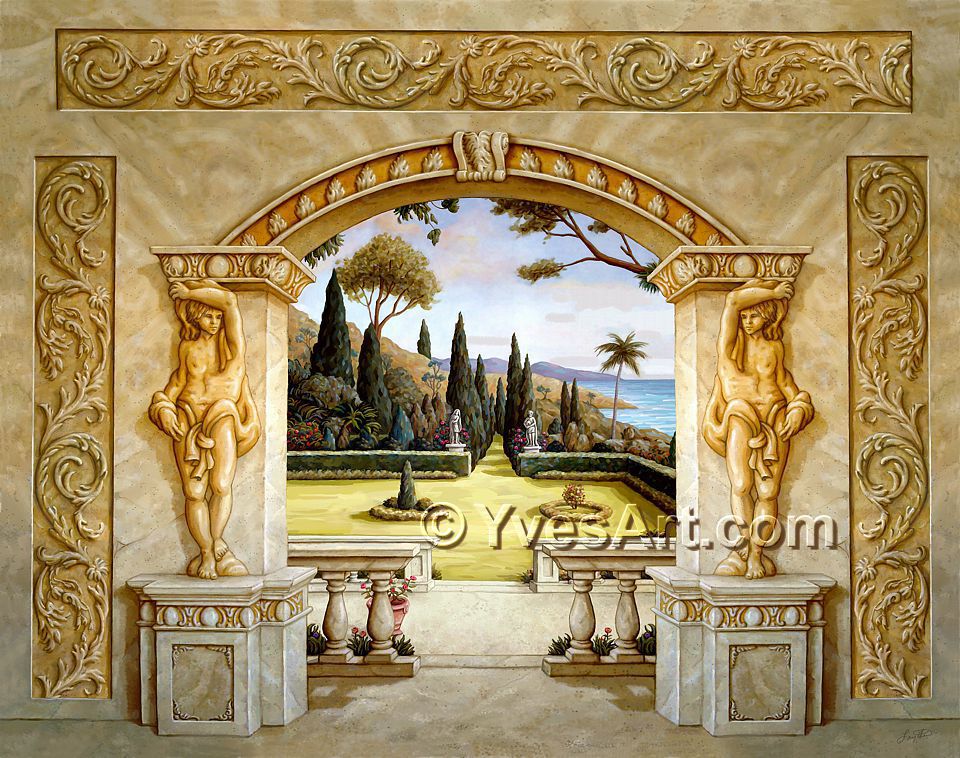
4.
From the side detail, I pasted on the
top part above the arch.
5.
1 then proceeded to paint the rest of
the scenery that was inspired from an
Old Italian garden.
6.
1 added finishing touches to the over-
all picture, ending with what you see
in Figure 5.
After completing the work, I was able to divide the mural into
vertical segments, and then print it on 36-inch-wide canvas rolls. The
advantage for me of working this way is that once I complete a design, I
am able to reuse it and com- bine it with other designs.
I think that eventually I will have so many design elements that
instead of flying to a clients location and painting in a house for a few
months, I can create murals in my studio in a matter of days, and then
ship them anywhere in the world ON. |
|
1. 1 first started to elaborate on the left
part of the design that I had previously
completed (Figure 4).
2. To save some time, after defining this
part, I duplicated and inverted the
subject to a larger canvas.
3. Combining the two sides, I then took
the side borders and applied the same
process to both.
|